Get Yourself a Win10 Guest in QEMU-KVM
Published:
In order to use certain softwares, I have to prepare myself a win10 virtual machine. However, common virtual machine software (VMWare / Parallel Desktop) has no Linux support, while VirtualBox is not powerful enough. That drives me to an alternative: QEMU-KVM.
In this blog, I want to show how I successfully run a Win10 as the guest in QEMU-KVM. The process is successfully tested on both Ubuntu 22.04 and Archlinux.
Prerequistes
The first step is to install the the required packages.
$ sudo apt install qemu qemu-kvm libvirt-daemon-system libvirt-clients bridge-utils virt-manager virt-viewer spice-vdagent
Different Linux distro may has different package name.
After the installation is finished, you may have to reboot your machine to enable KVM connecton. And libvirt will also create a default virbr0 bridge interface.
Then you will have to download a Win10 installation images.
Last is a win10-virtio driver pack maintained by fedora, check here to download the latest version.
Create a New Virtual Machine
Open Virtual Machine Manager, press the button to create a new virtual machine.
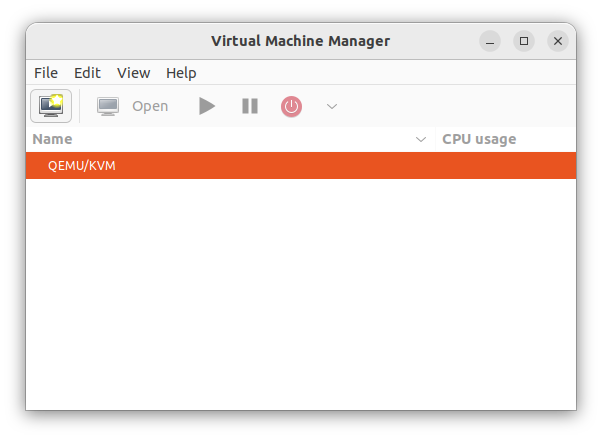
Create a New Virtual Machine
Then select local install media.
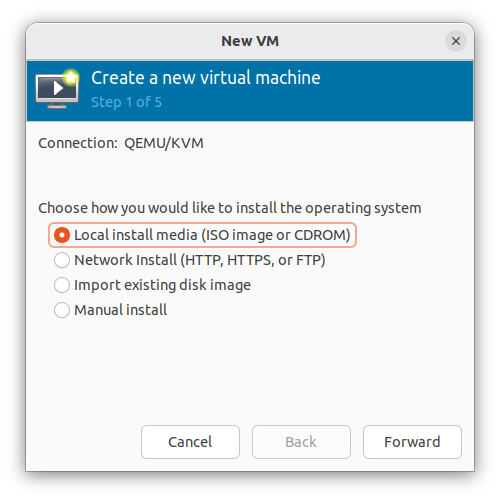
Select local install media
Load the local Win10 media and enter the target operating system: Microsoft Windows 10.
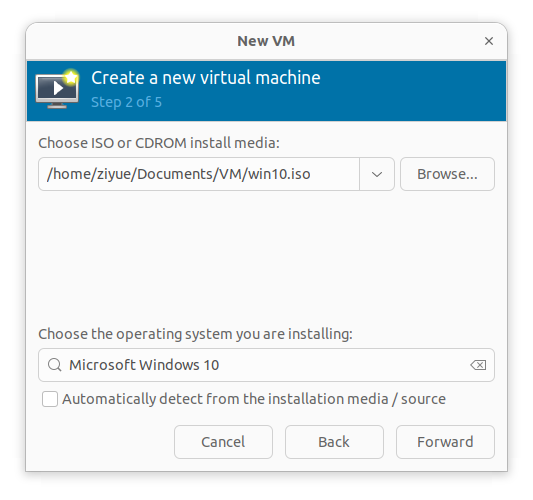
Load Win10 image and select target OS in QEMU
Adjust CPUs and memory allocation according to your own machine.
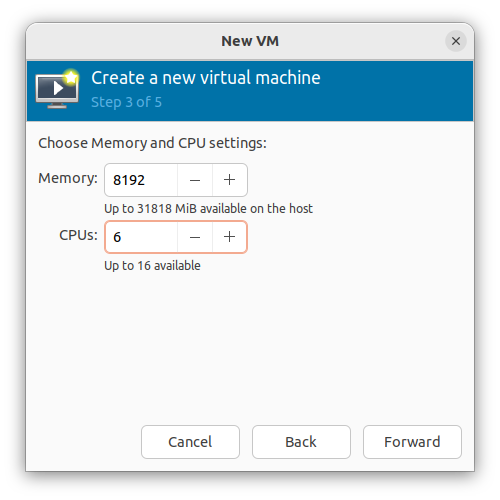
Adjust CPUs and memory allocation
Load storage volume as your whole disk storage. Here you can create either a qcow2 format volume or a raw image (with an img suffix). I choose raw image since it is more speedy than qcow2 format. If you prefer a snapshot support, select qcow2 format.
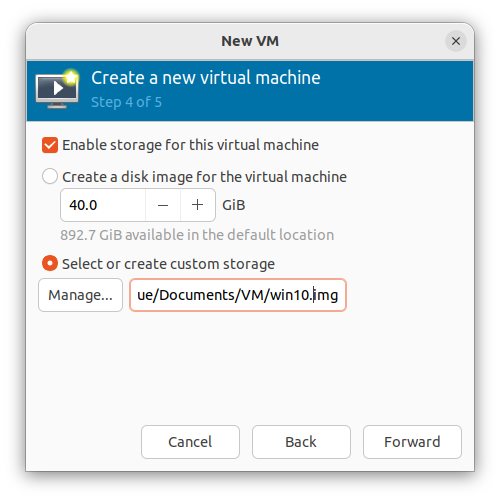
Load storage
Finally, check Customize configuration before install and finish.

Check custom configuration before install
Customize Configuration Before Install
First click to SATA Disk 1, change Disk Bus to VirtIO
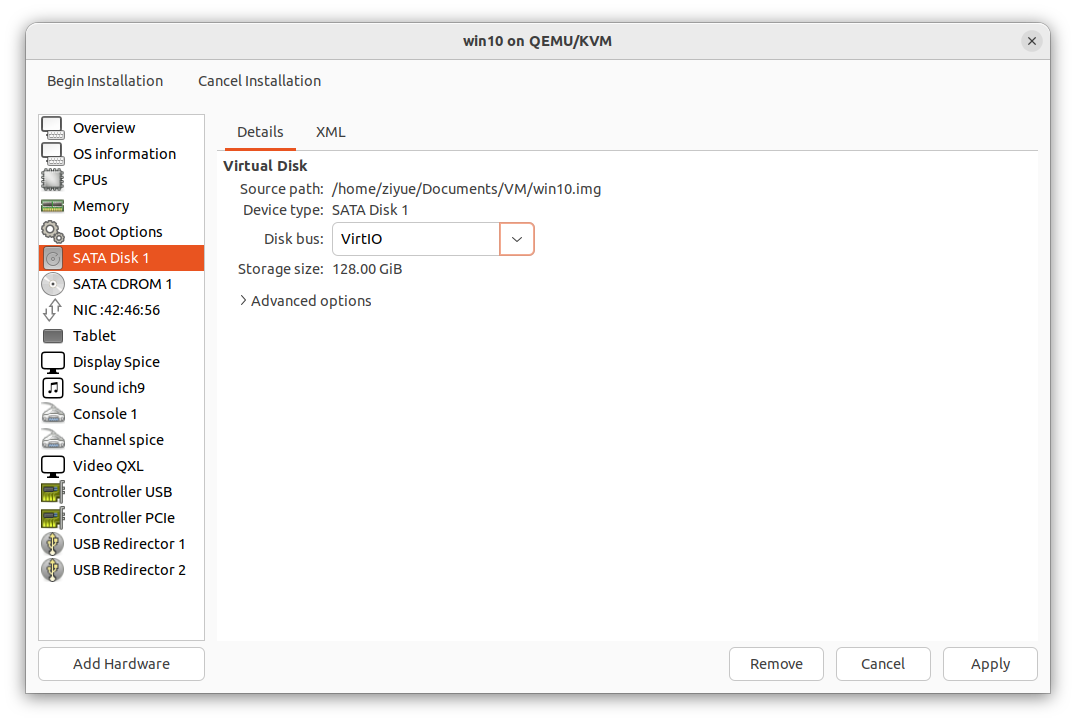
Configure SATA disk
Click to NIC, change Device model to virtio.
Here, you may wonder how to judge between the network sources. If you want your Win10 guest be accessiable by the devices outside your host network, you may refer to Bridge mode. If not, an NAT network by default is just fine.

Configure NIC
Win10 does not support virtio as net card by default. After installation, you should install the virtio net card driver manually.
Click Add Hardware, and at the first entry: Storage, load your previously downloaded virtio-win-*.*.***.iso image as CDROM device, as the following image shows.
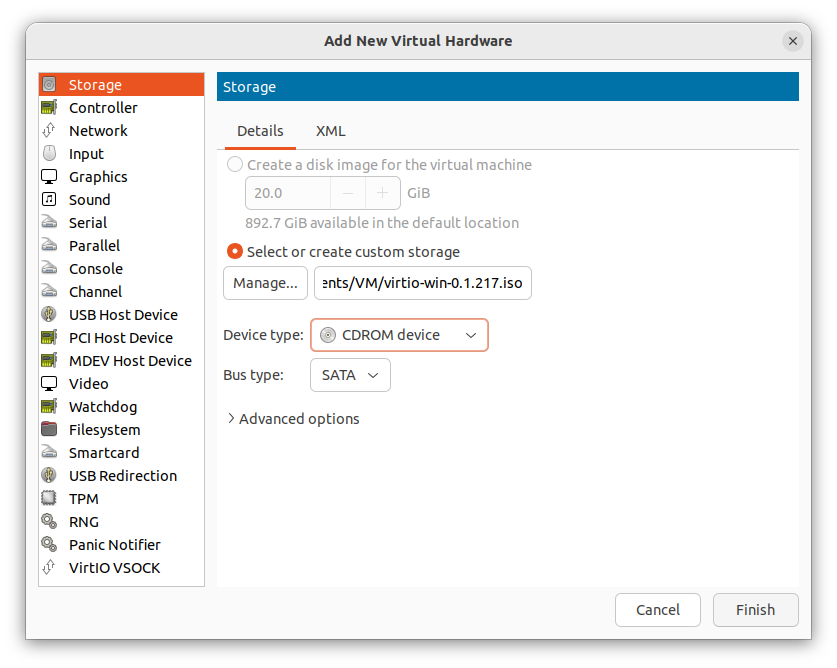
Add virtio as storage
The last customization is to adjust the boot option. Top one is SATA CDROM 1 (the main storage), sequenced by VirtIO Disk 1 (win10 installation image).
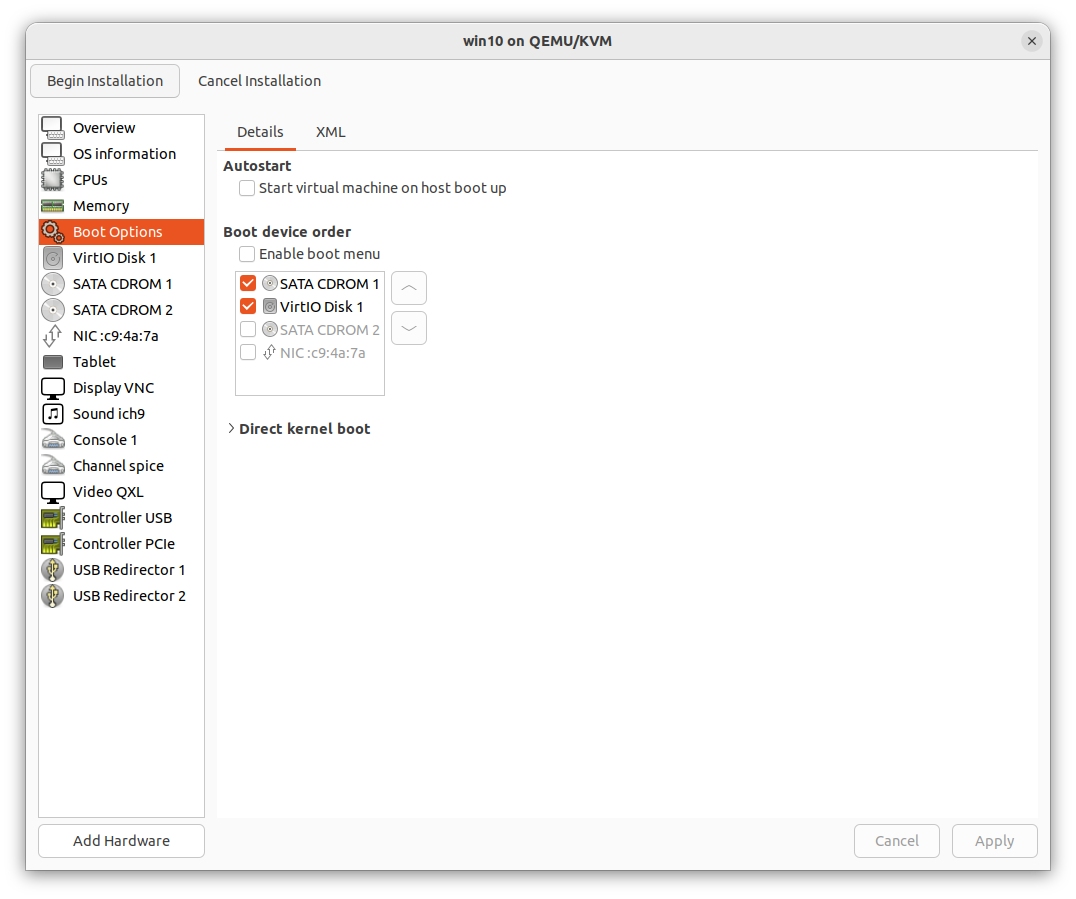
Set boot option
After all these customizations, click Begin Installation and here we shall go!
Win10 Setup
During the ordinary setup of Win10, you will see a page where no available storage is prompted. Here you should load the drivers manually.
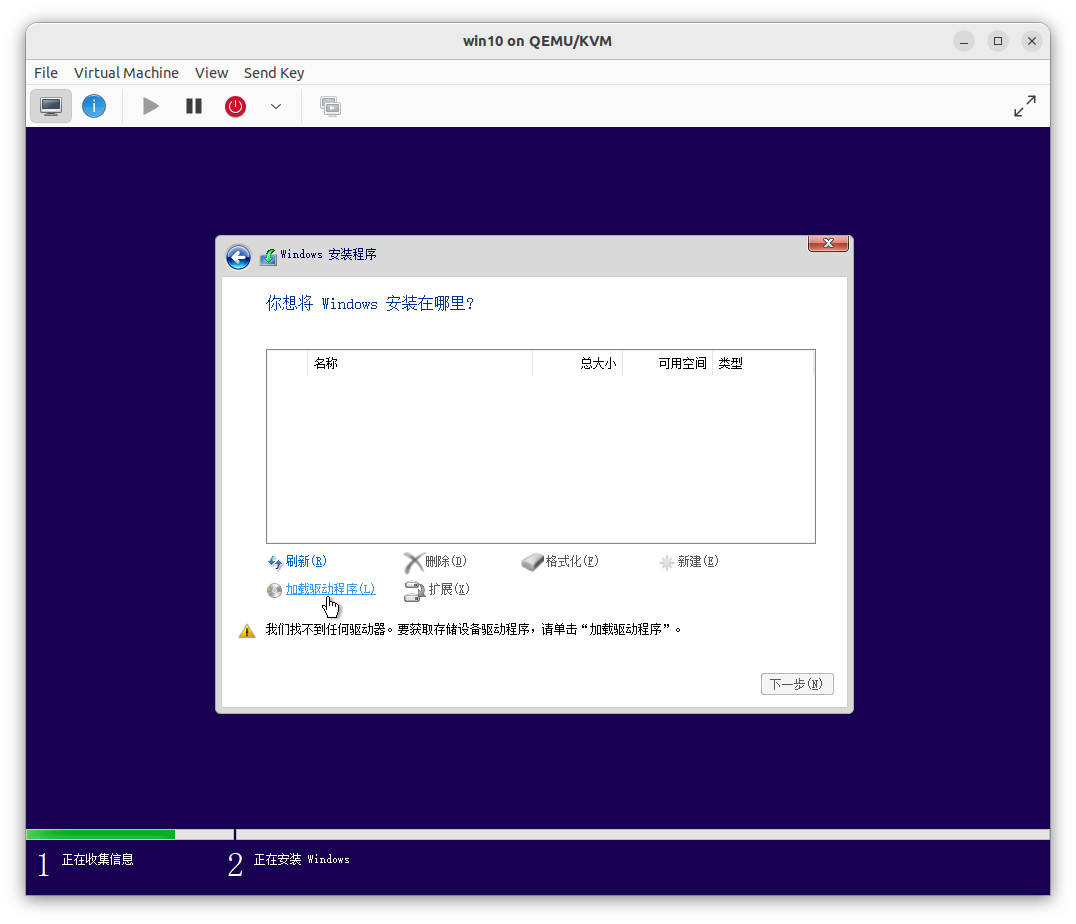
Install virtio (1)
Then select E:\amd64\w10\viostor.inf.
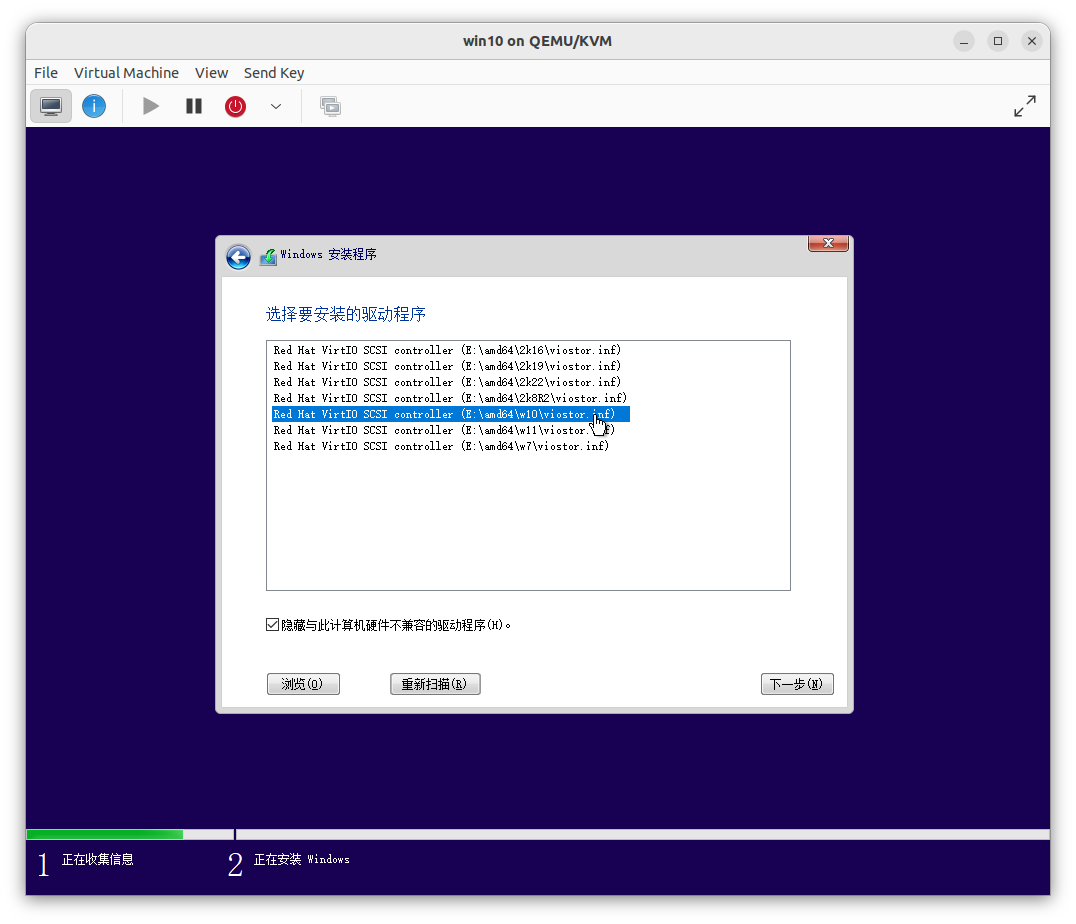
Install virtio (2)
We can proceed and finish Win10 installation. When you see the classic Windows desktop, right click on the Win button and select Device Manager.
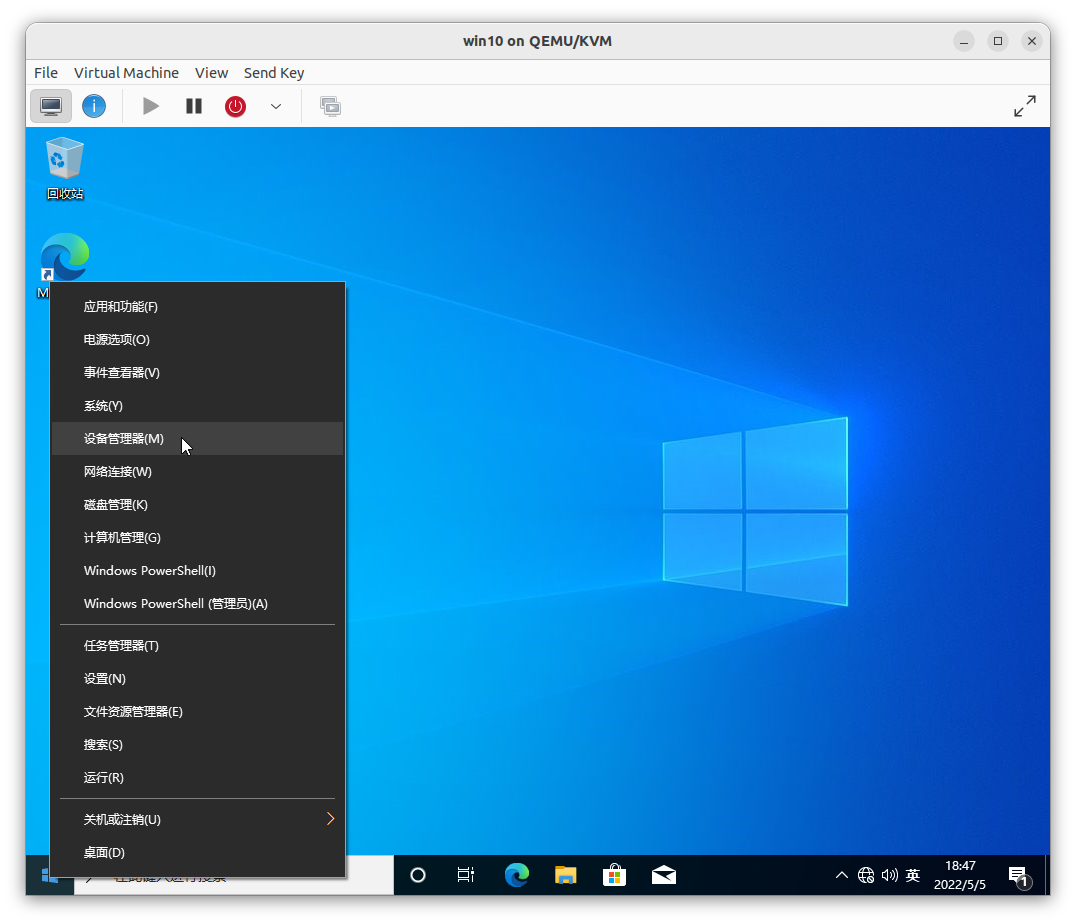
Install virtio (3)
Expand Other Devices and right click on Ehternet Driver, update the device driver.
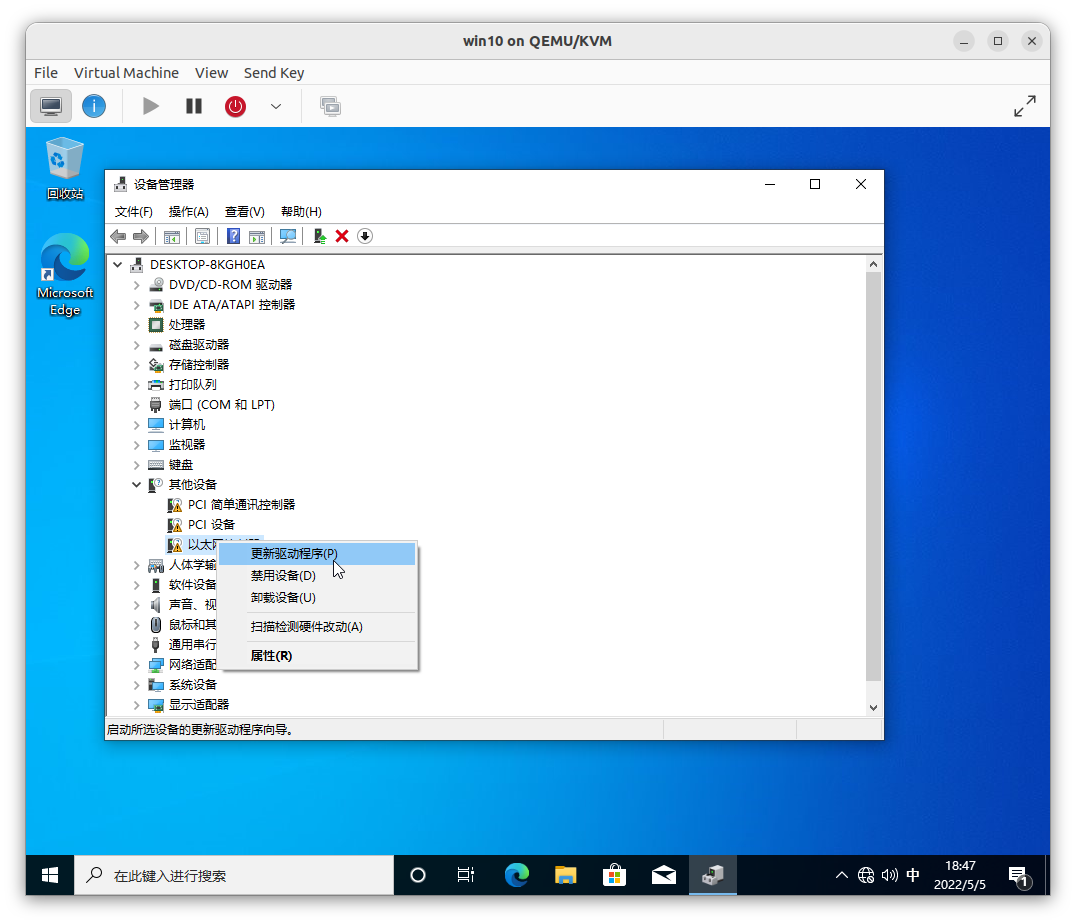
Install virtio (4)
Browse local files.
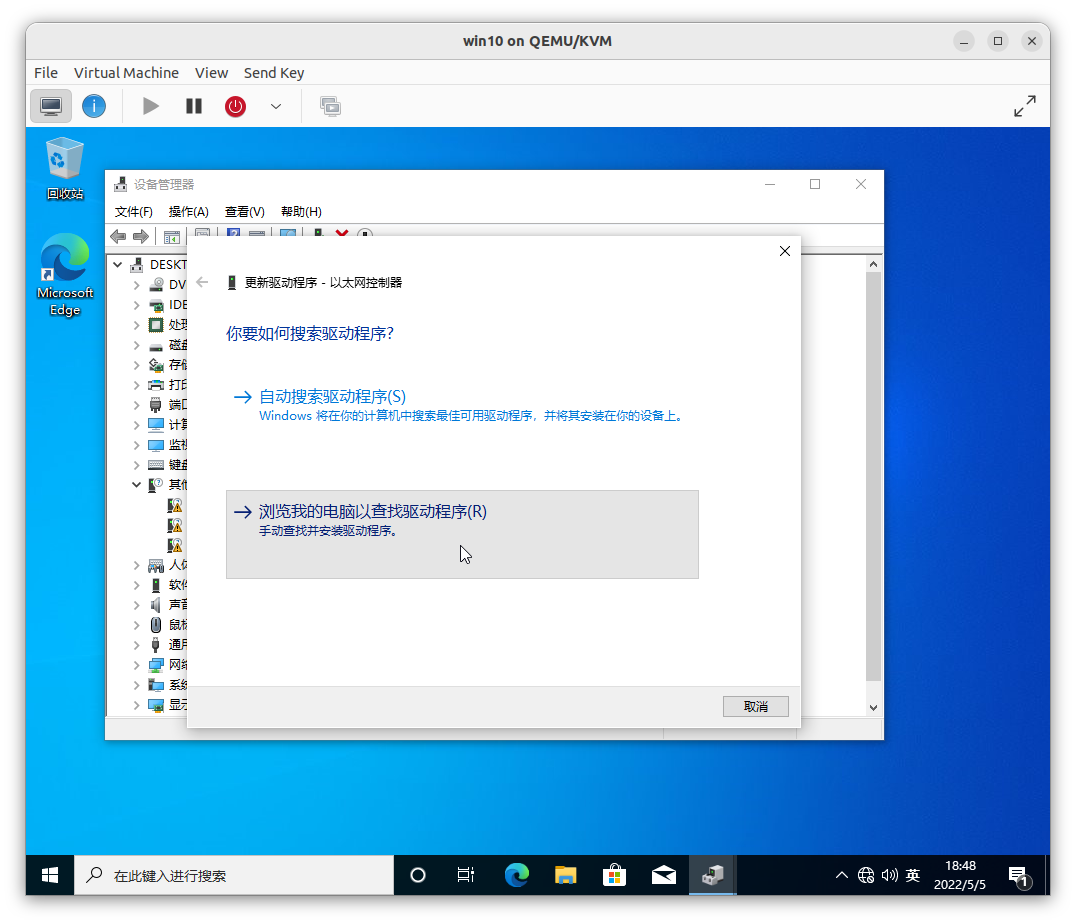
virtio (5)
Select virtio directory.
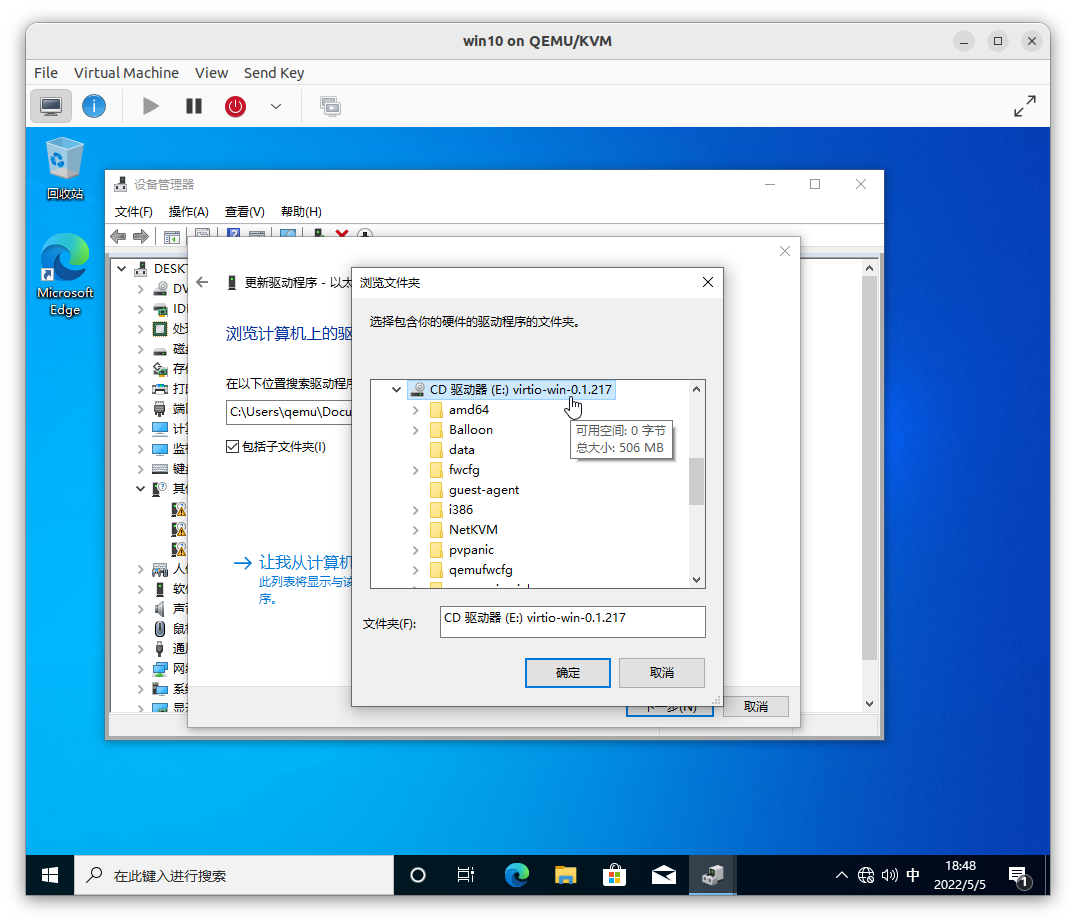
Install virtio (6)
And install successfully!
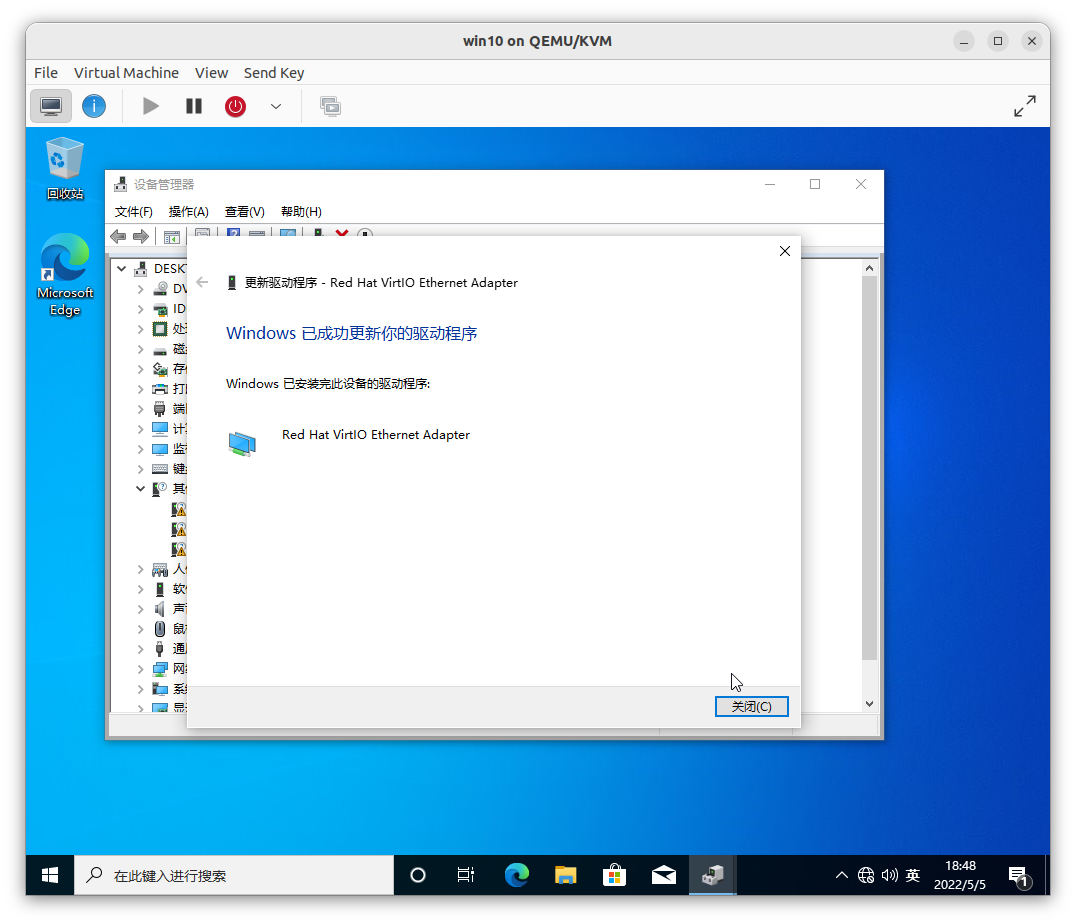
Install virtio (7)
And here, we have successfully run a Win10 in QEMU-KVM!